

Hot In Nailz Made to Order
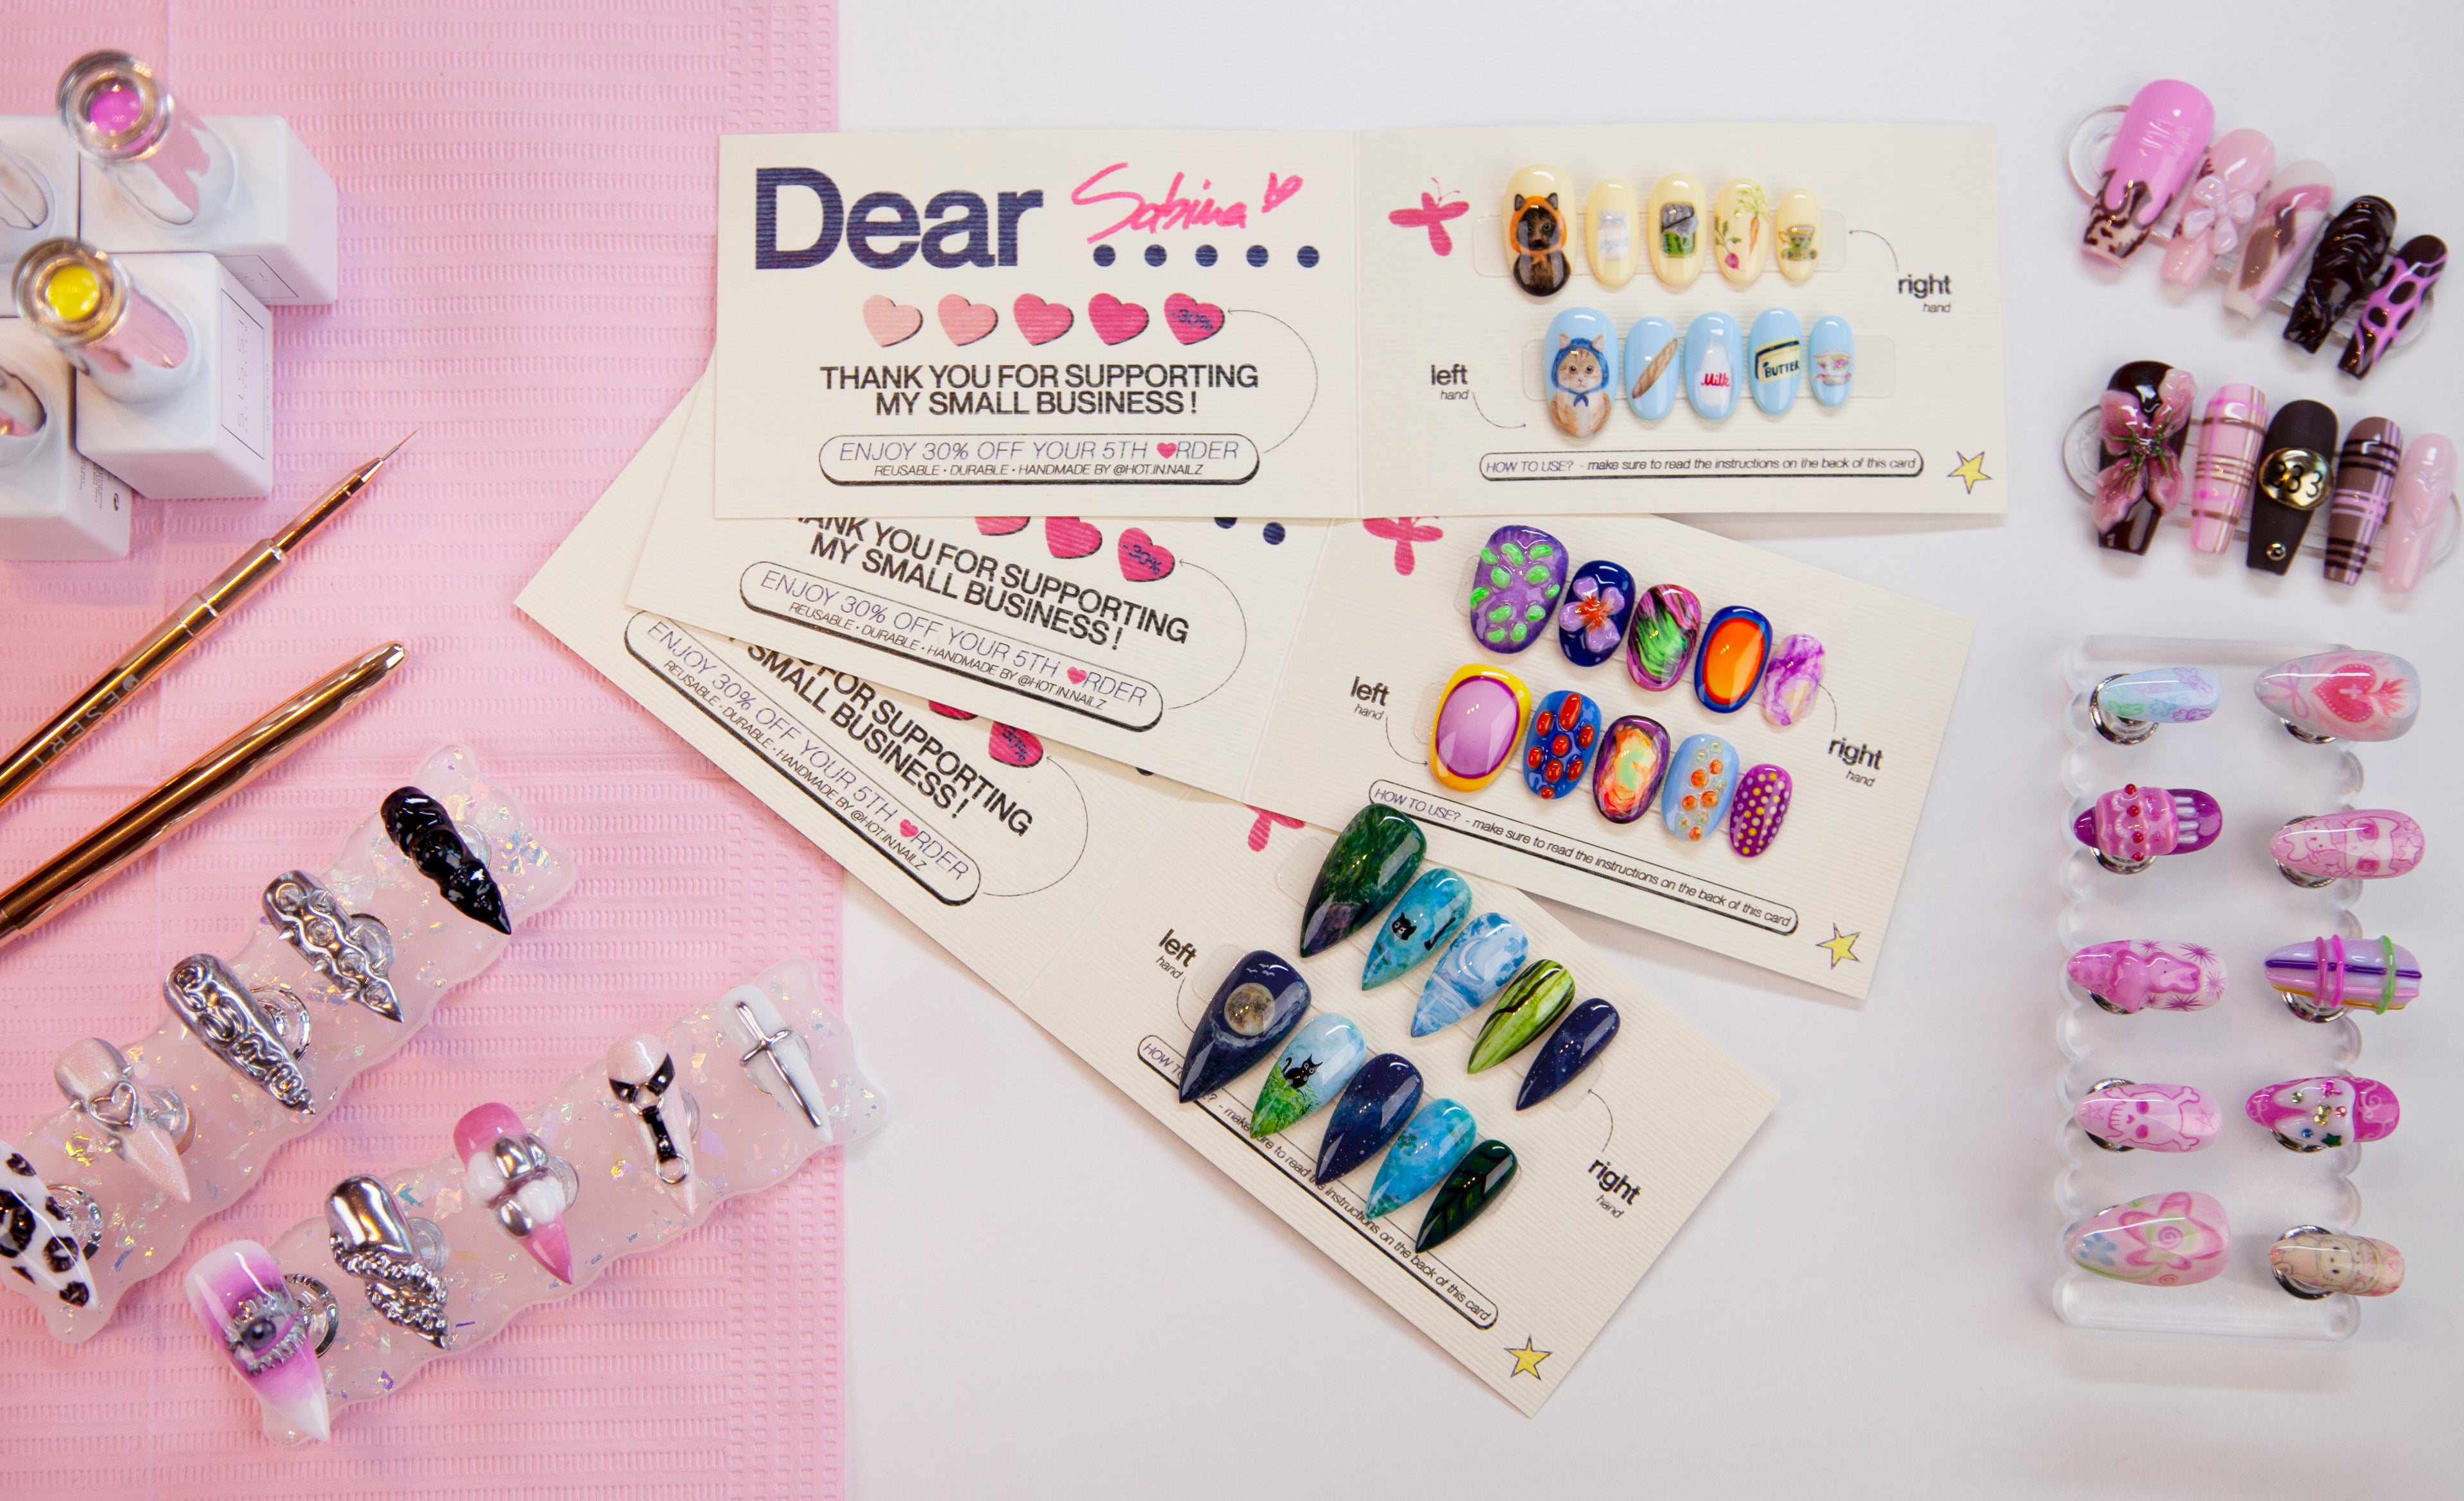
Welcome to our bespoke service for custom press on nails tailored to your imagination. Here we provide a new manicure experience, where we translate your vision into a custom press-on set that is unique and personalized to you.
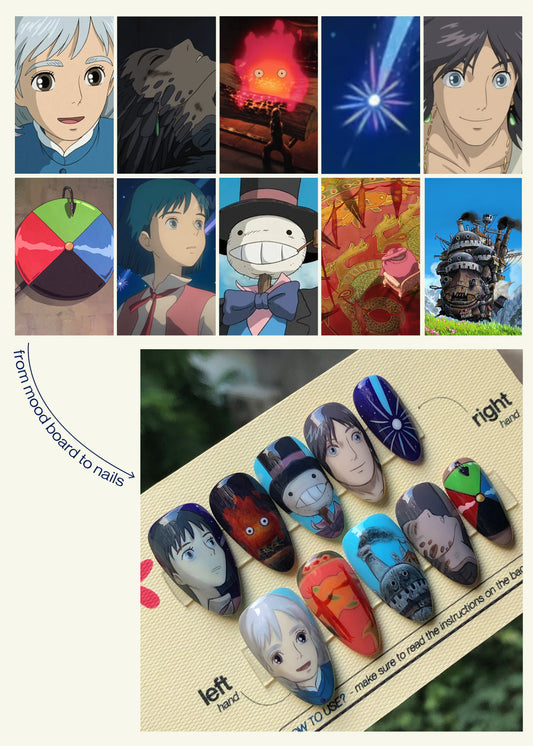
We focus on bringing your ideas and mood boards to life into a wearable piece of art while paying attention to all the details that are going to make your nails one of a kind.
Where to start
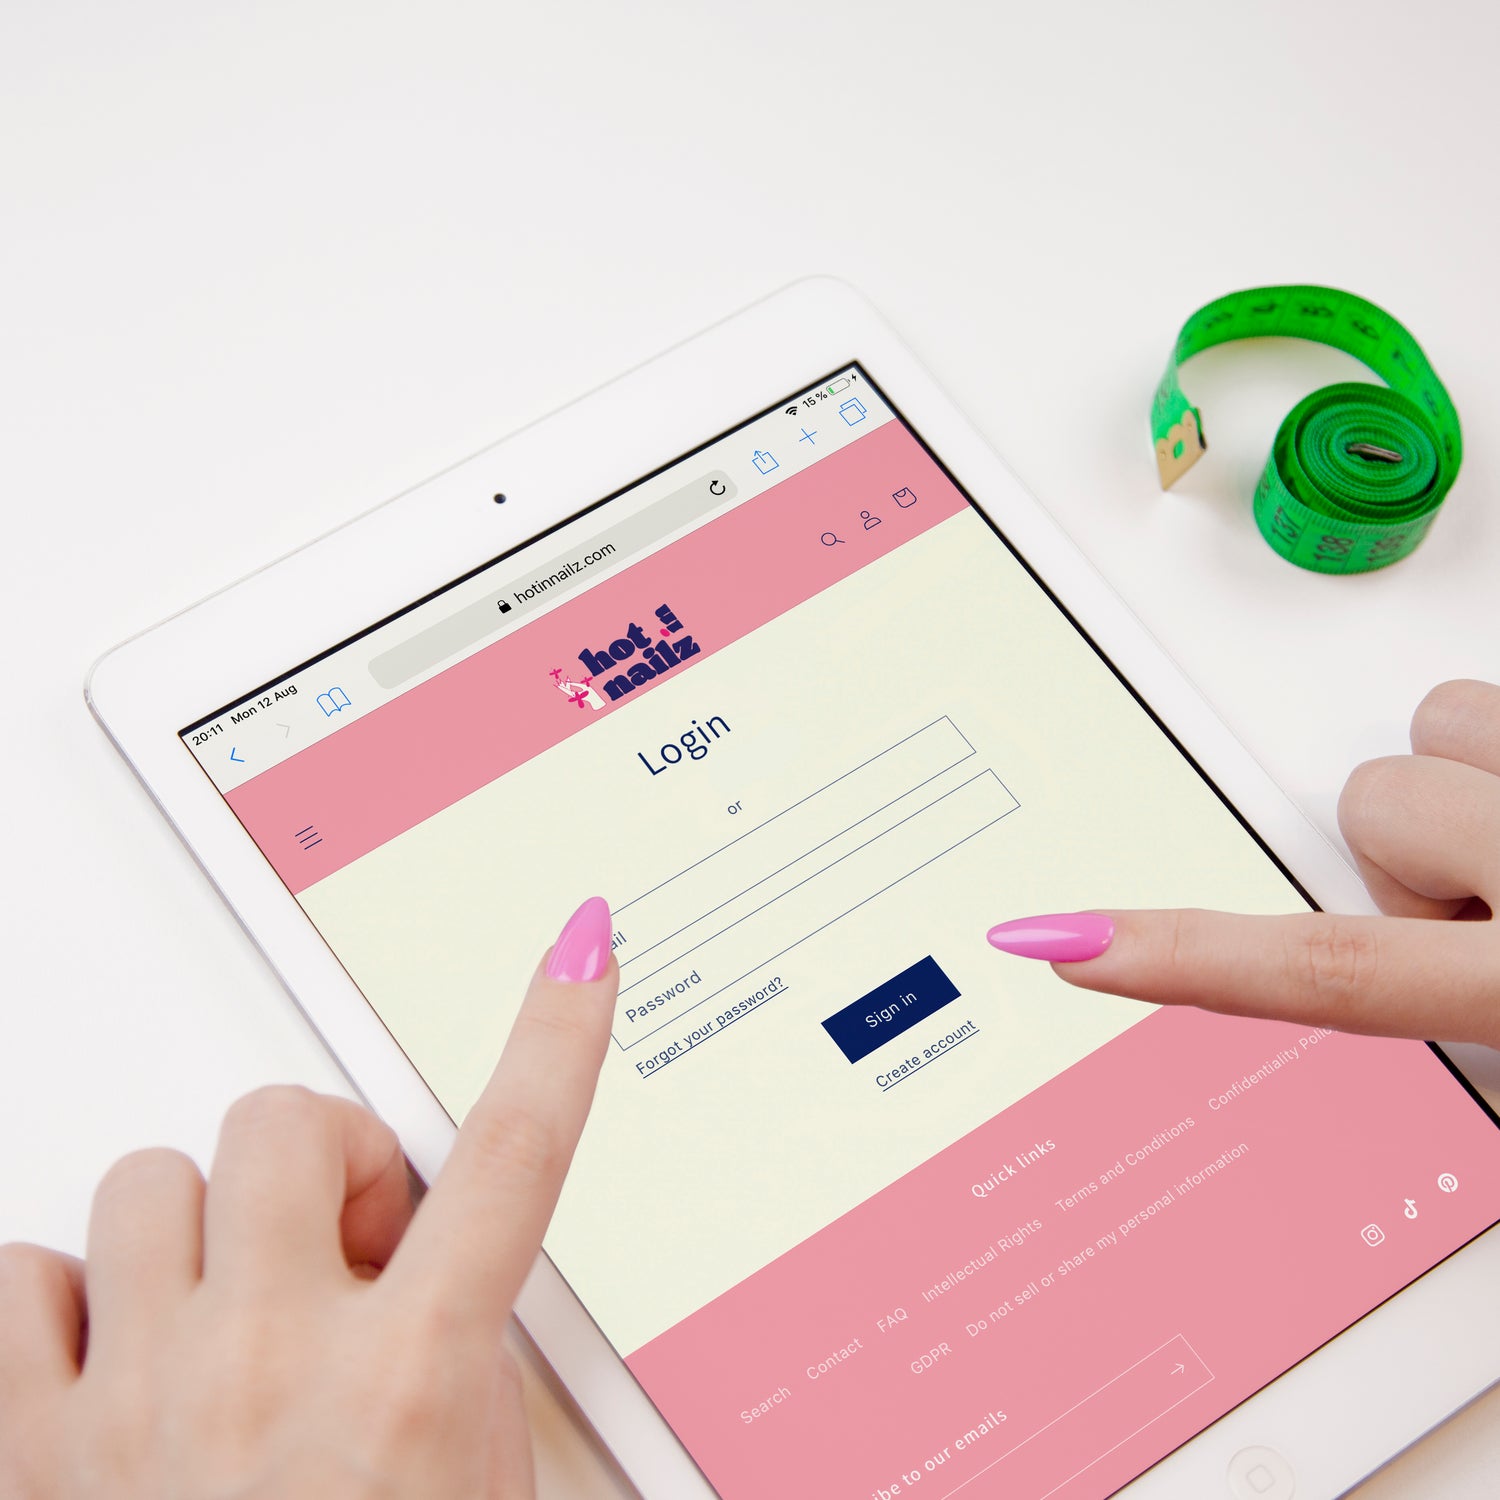
The first step is to upload all reference pictures and measurements of your nails to your Hot In Nailz account. Refer to our tutorial on how to do so.
The next step is to open the page of the Nail Art category you want. Need help choosing the right category? Send us a message through the chat box!
On the product page, you will be able to upload and share with us all the information you want about your set of Hot In Nailz.
Waiting time
Within four working days, you will receive your bill that confirms your set has been approved* for production. In this interval, you can contact us through email to request any additional changes. Afterwards, we can no longer modify your set.
Please allow three weeks for your set to be finished. Once finished, you will receive a confirmation email with a photo of your finished set.
*(If there is any issue with the design you have chosen and it cannot be produced, we will contact you via email to resolve it. If we cannot find a solution together, we will refund your money.)
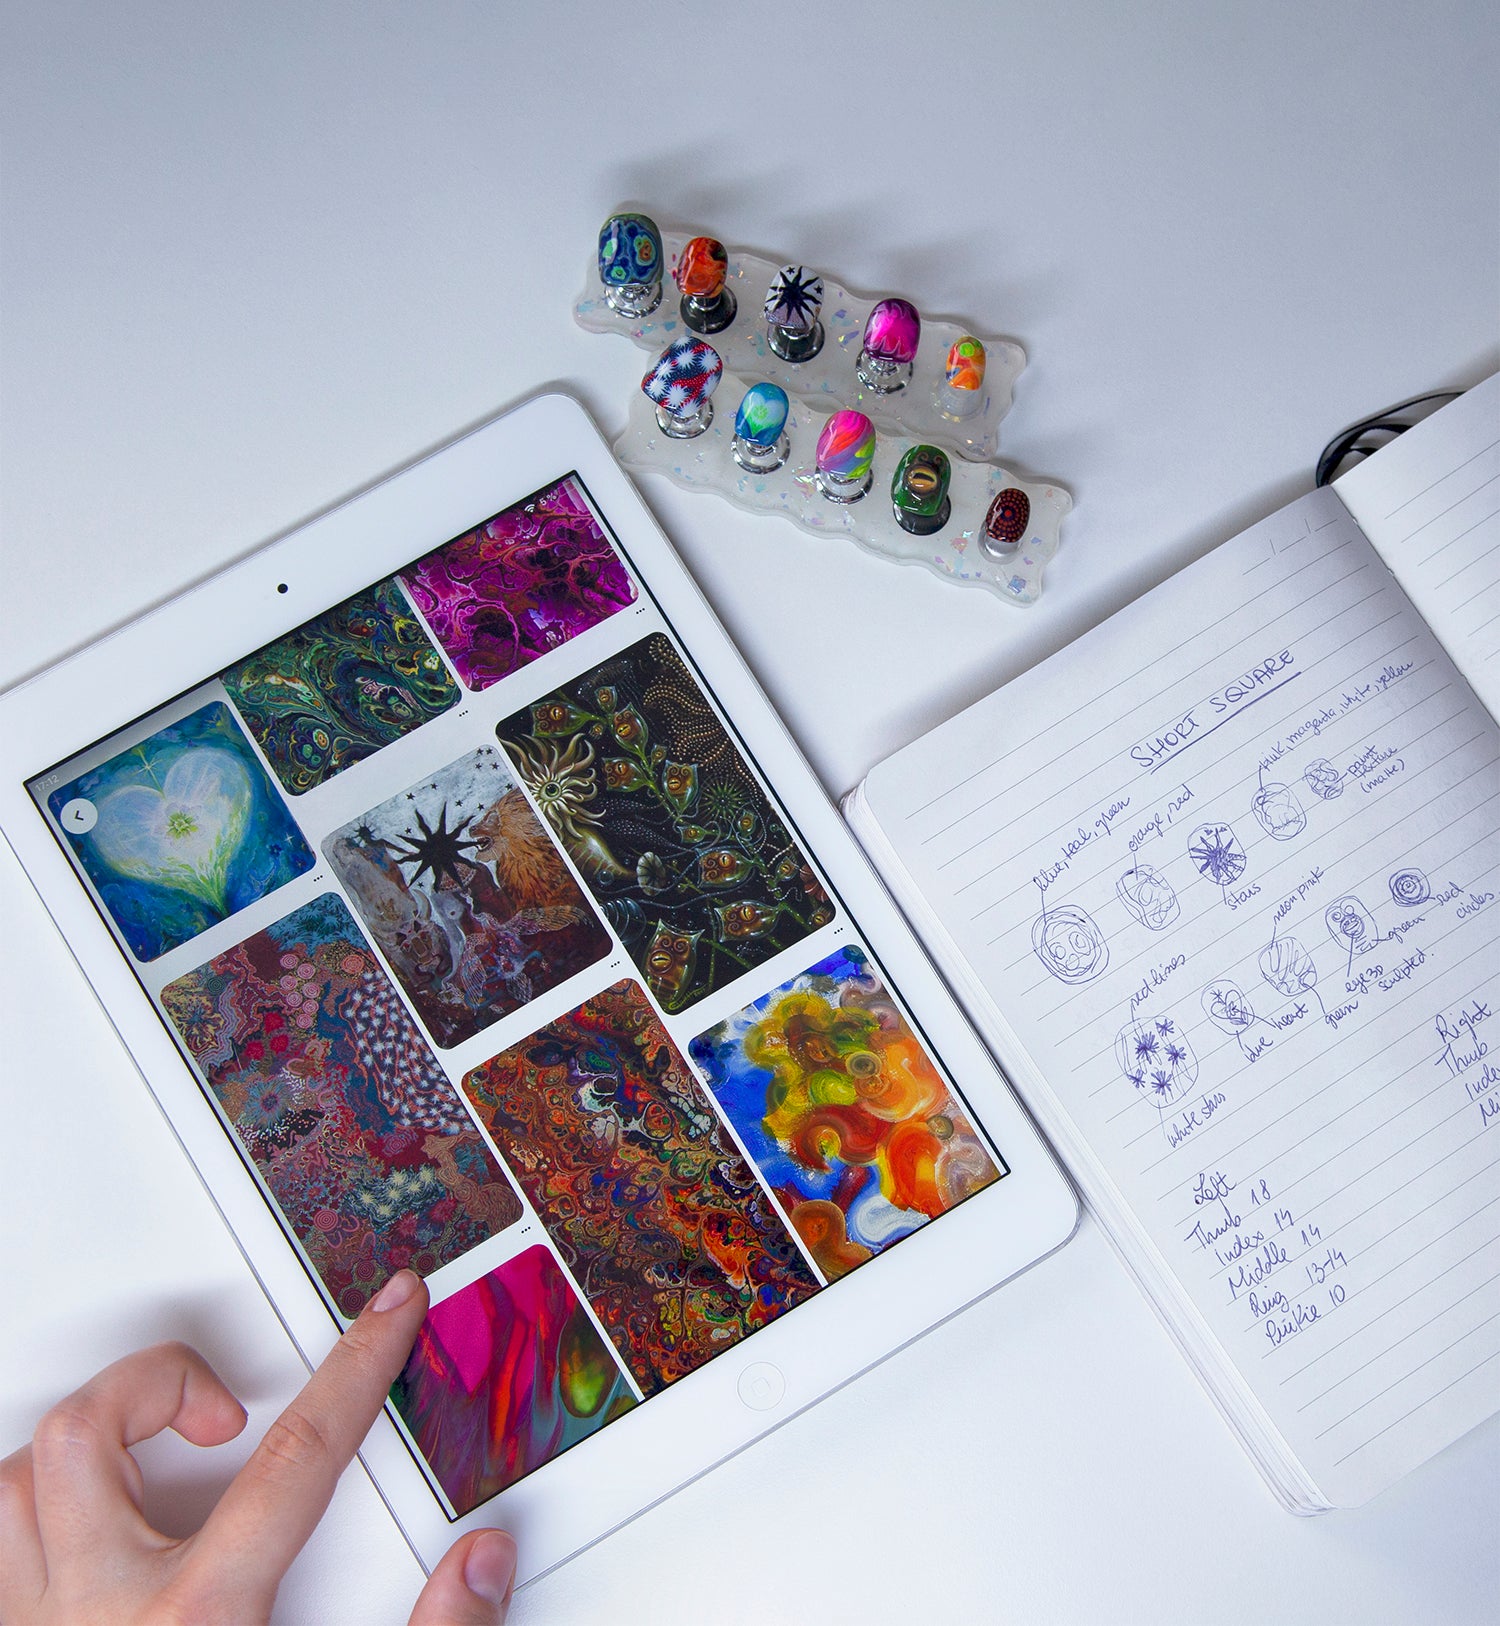
Design consultation
If you have opted for Advanced, Freestyle or Theme Nail Art, we will first sketch out your design then get back to you for a consultation where we can talk more about the specifics of your set.
Once the design is agreed upon, we will begin crafting your set and it will be ready in approximatively three weeks.
Sometimes, when you translate an idea into a set of nails, there might be unforeseen physical limitations. Although the design will always be at least 90% exactly like in the sketch, small adjustments may be made in order to accommodate the design onto the nail shape.
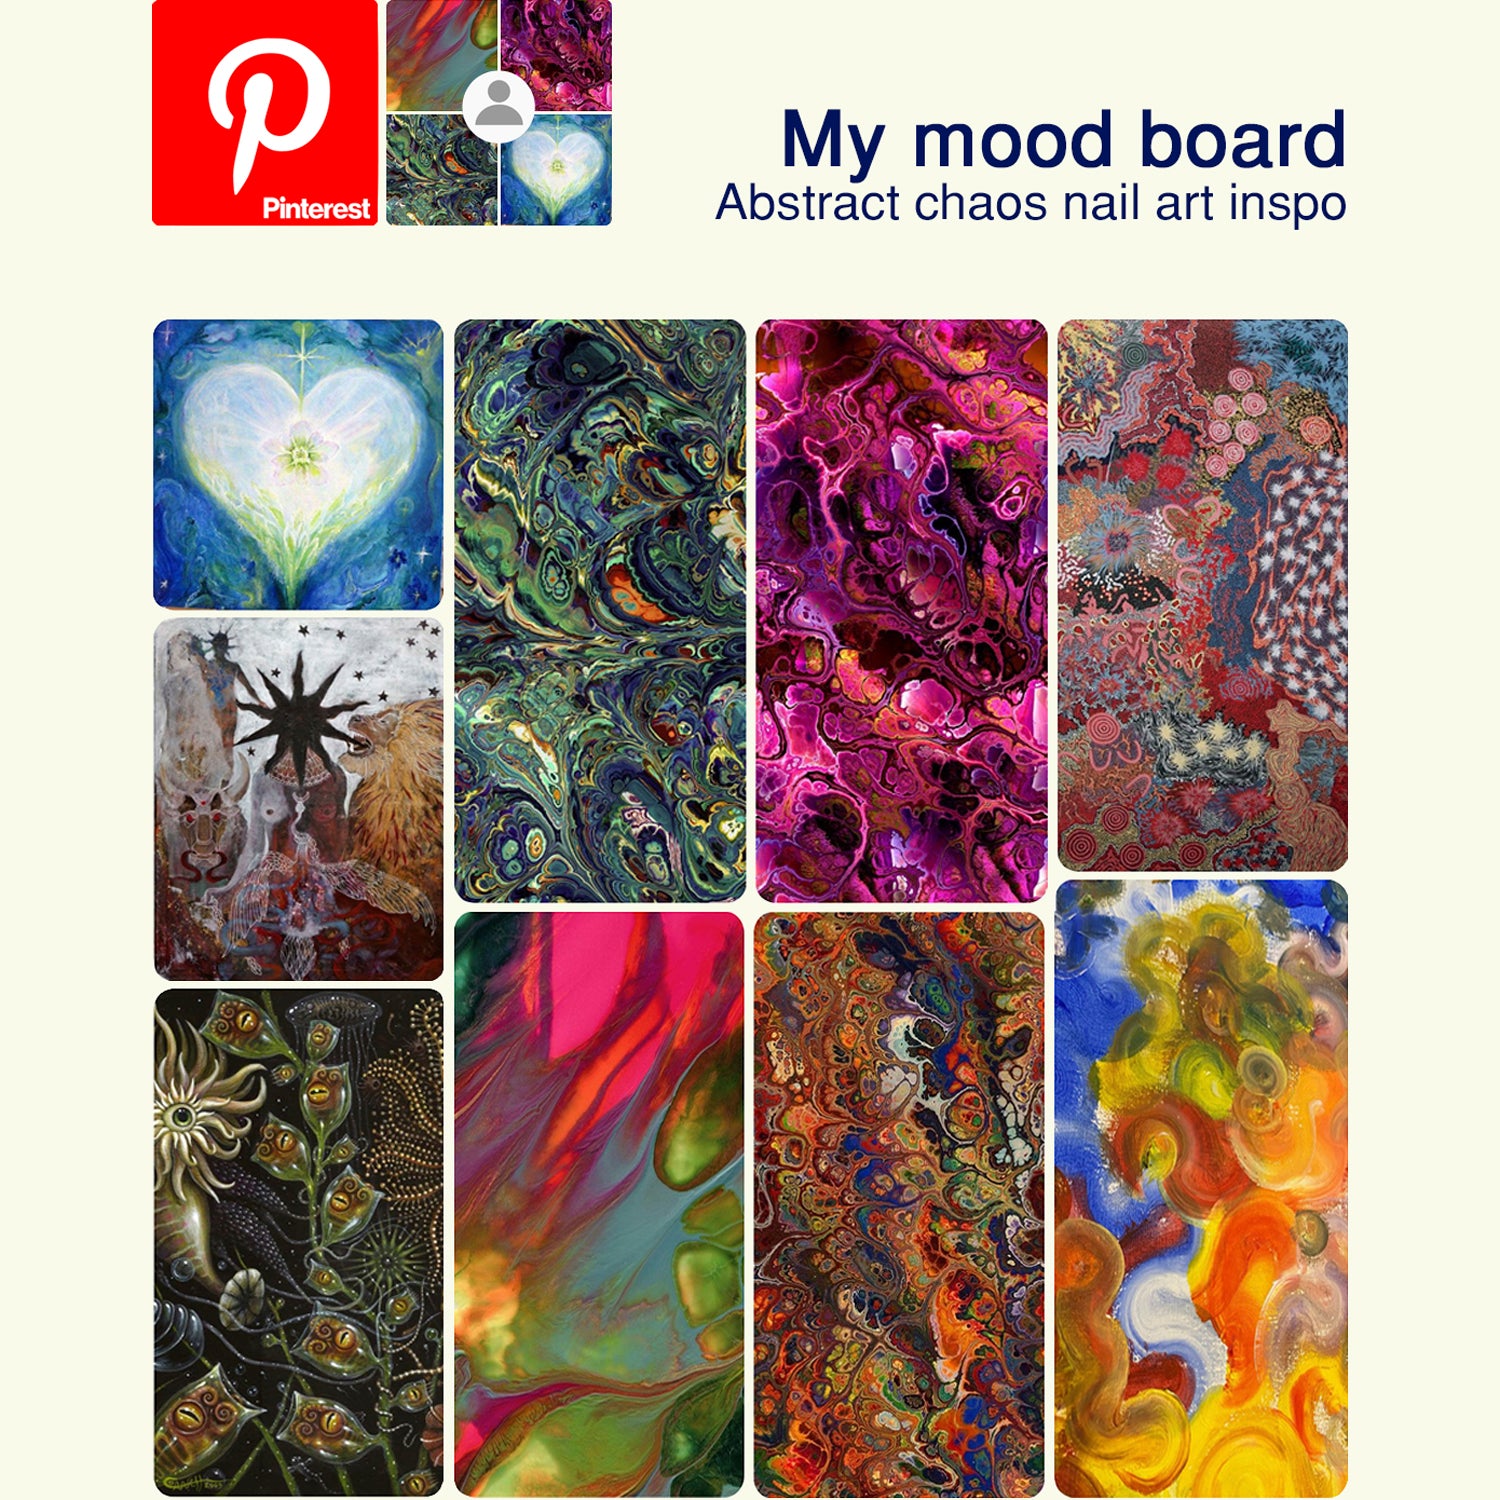
Mood boards & inspo
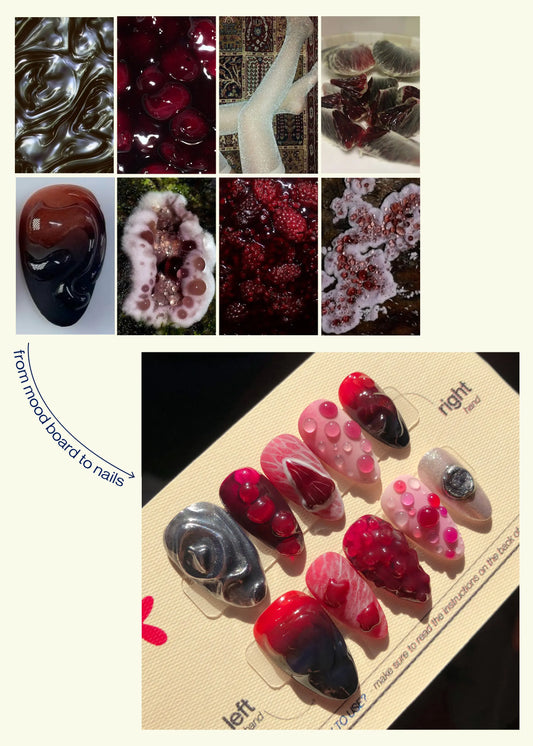
We know sometimes it's hard to put your ideas into words. Therefore, we want you to get creative and save everything that inspires you. Let's blend all these ideas into a stunning custom press-on set!
While creating your board, you should not limit yourself to only saving nail designs. Photos of what inspire you are just as good, because anything can be turned into nail art!
Pinterest is a great tool for this and we recommend you save up to 10 photos so we can have plenty of options for your custom set.
Hot In Nailz Made to Order
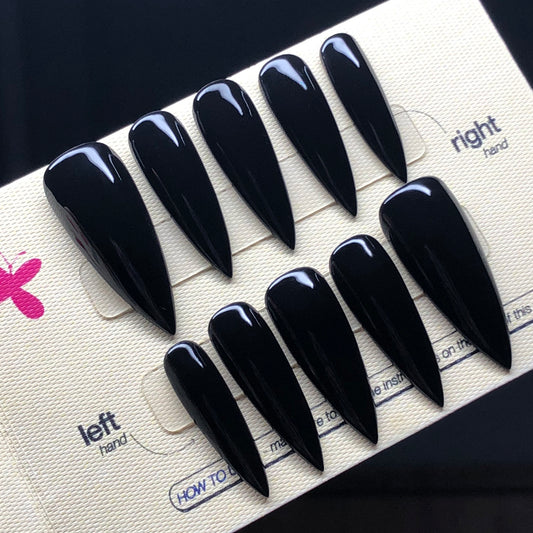
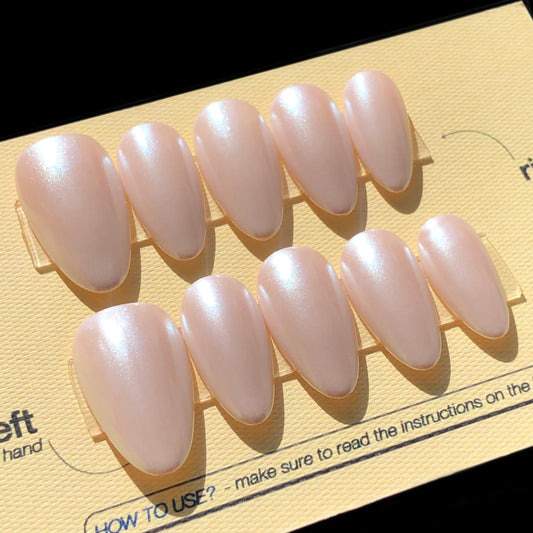
Made to Order sets aren't only limited to mood boards. They may also be simple, solid colors tailored to your exact preferences.
We want you to be a part of the creative process, so don't shy away from telling us what you would love to wear.
-
Solid Color
Regular price 180,00 leiRegular priceUnit price / per -
Simple Nail Art
Regular price 230,00 leiRegular priceUnit price / per -
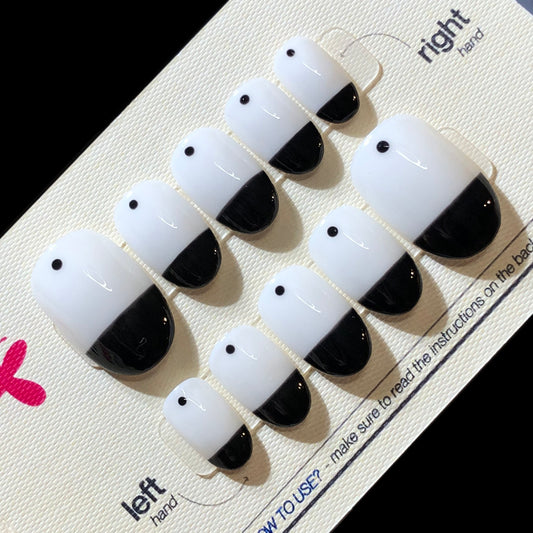
Medium Nail Art
Regular price 270,00 leiRegular priceUnit price / per -
Advanced Nail Art
Regular price 370,00 leiRegular priceUnit price / per -
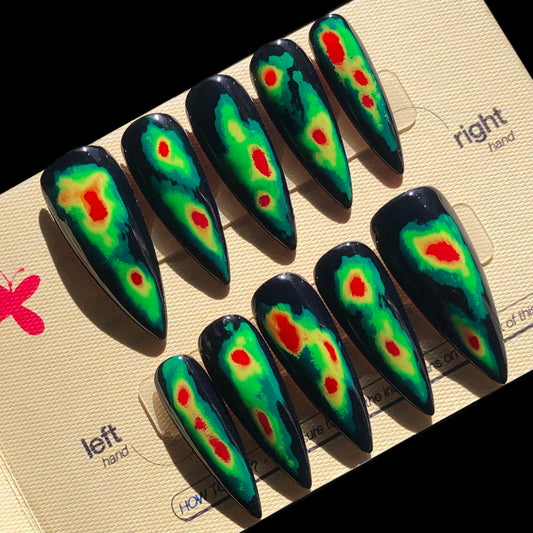
Freestyle Nail Art
Regular price 520,00 leiRegular priceUnit price / per -
Theme Nail Art
Regular price 910,00 leiRegular priceUnit price / per
The perfect set of custom press on nails starts with good measurements.
Follow our tutorials below to nail down your perfect size!
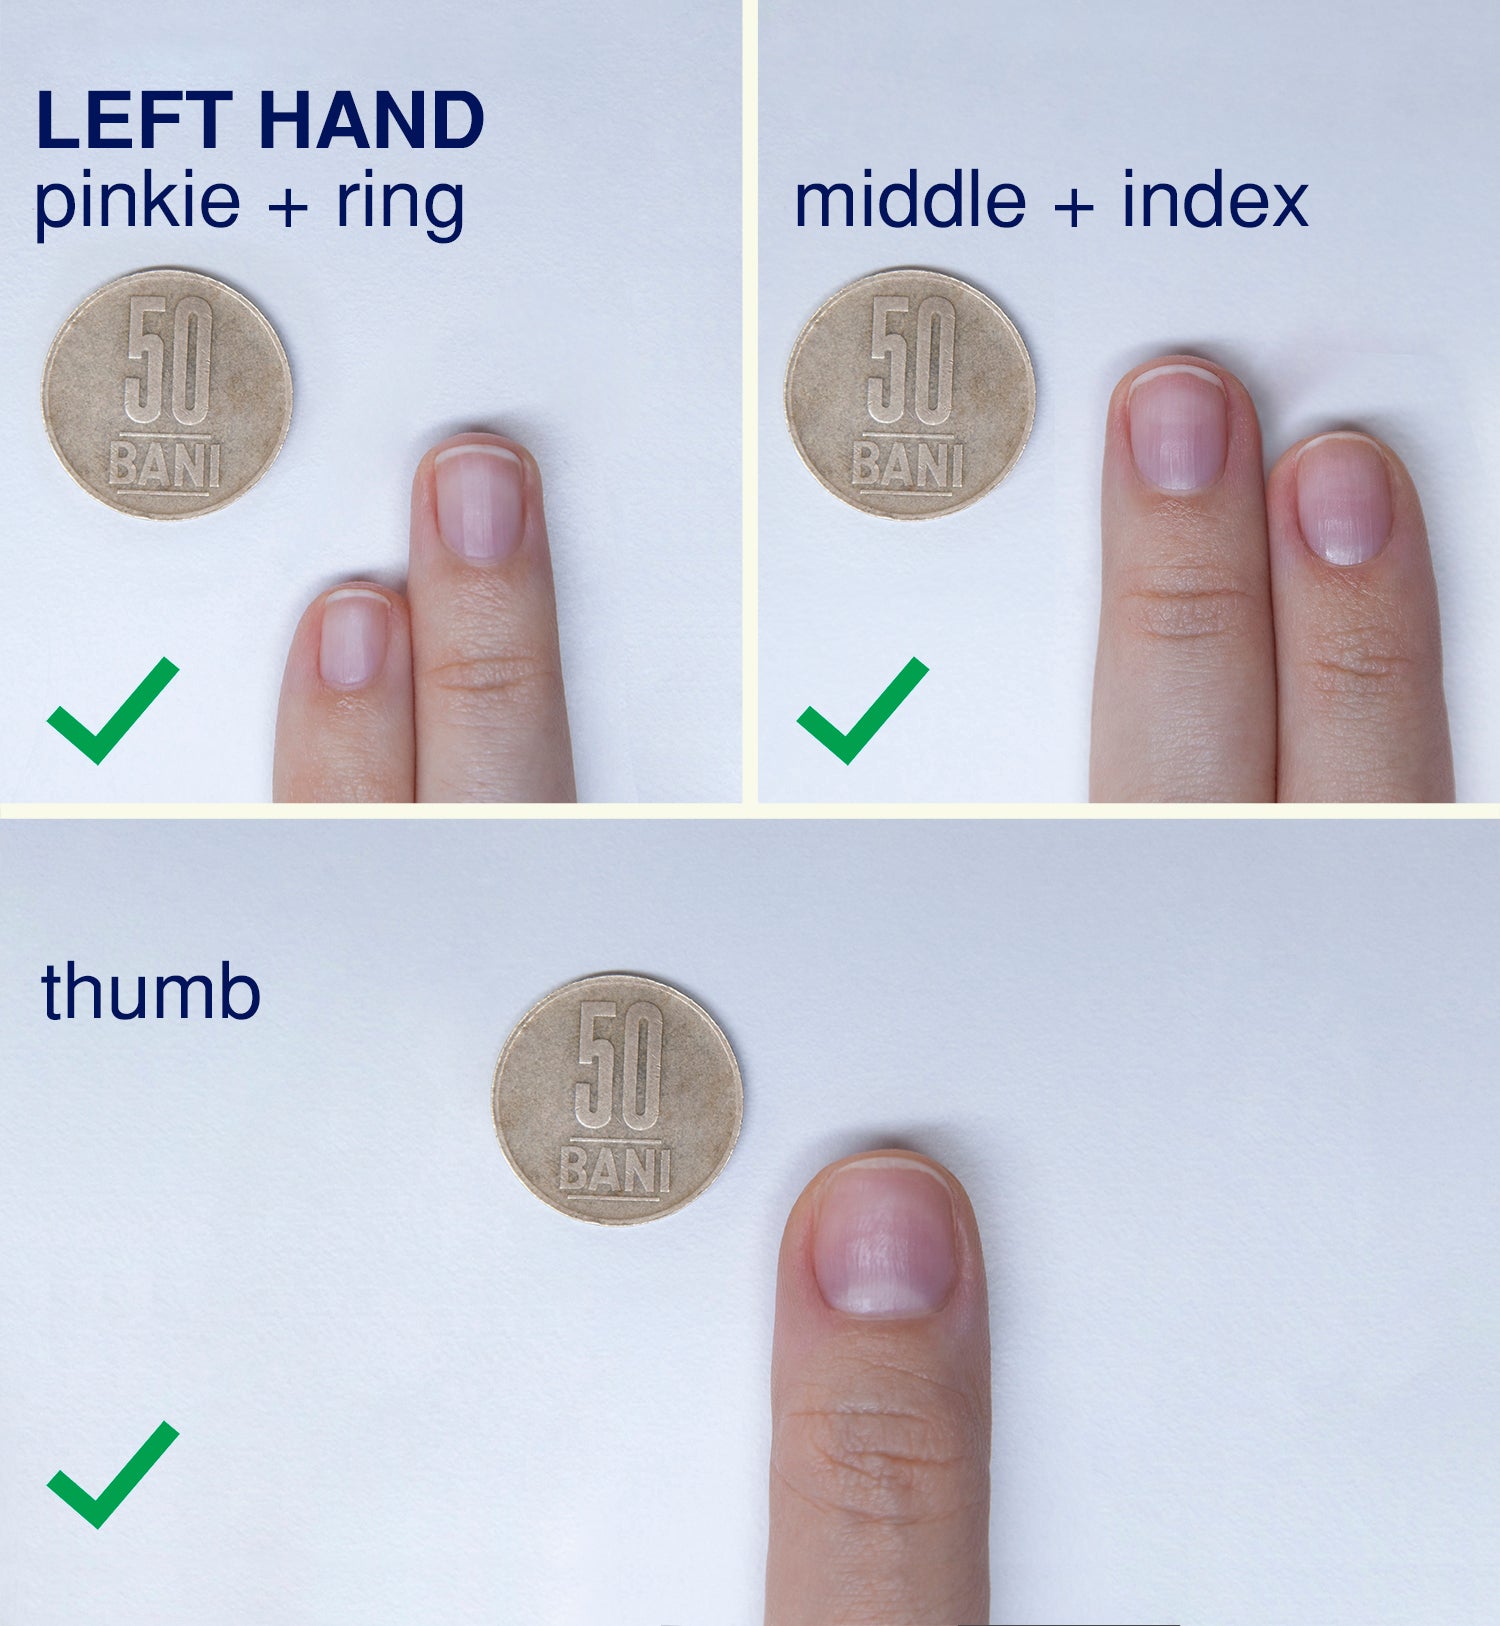
Reference Photos!
In order to pick the best sizing for your press on set, we will be needing some reference photos of your natural nails.
Just like the example shown here, take three perpendicular photos of each hand. You can group them as thumb, index+middle, ring+pinkie, with a coin right next to them. Preferably use a coin that is either one of these currencies: 50 bani, 1 euro, 2 euro, 50 eurocent, U.S. nickle, U.S. quarter.
Please make sure your photo is well lit, crisp, unfiltered and that there are no harsh shadows.
Make sure the coin is a perfect circle in the picture, not an oval.
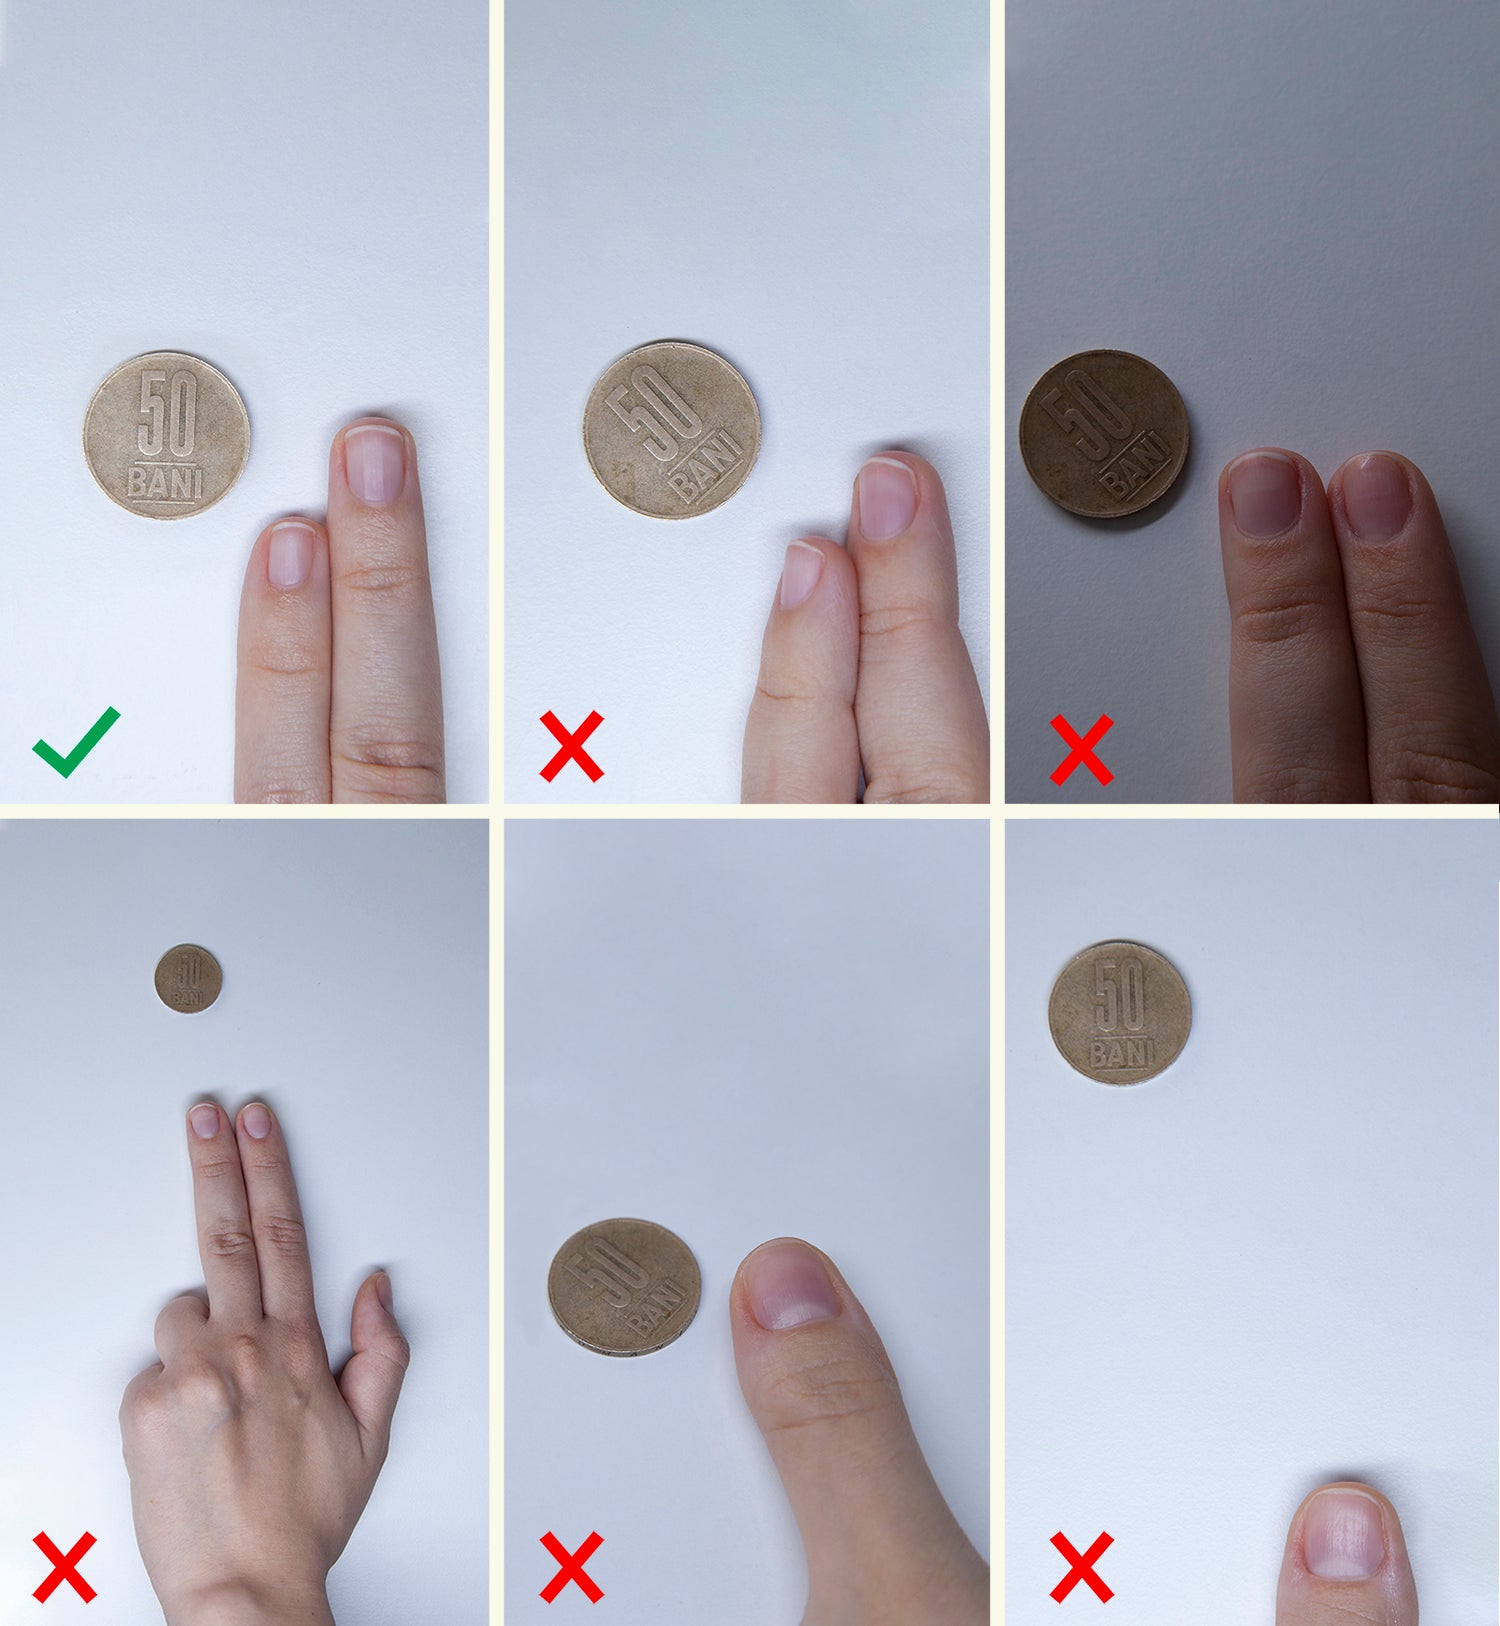
Make sure:
That your reference photos are:
- clear
- without harsh lighting
- without shadows
- well lit
- the coin is close to your nail
- the coin is a perfect circle, not an oval
The more, the better
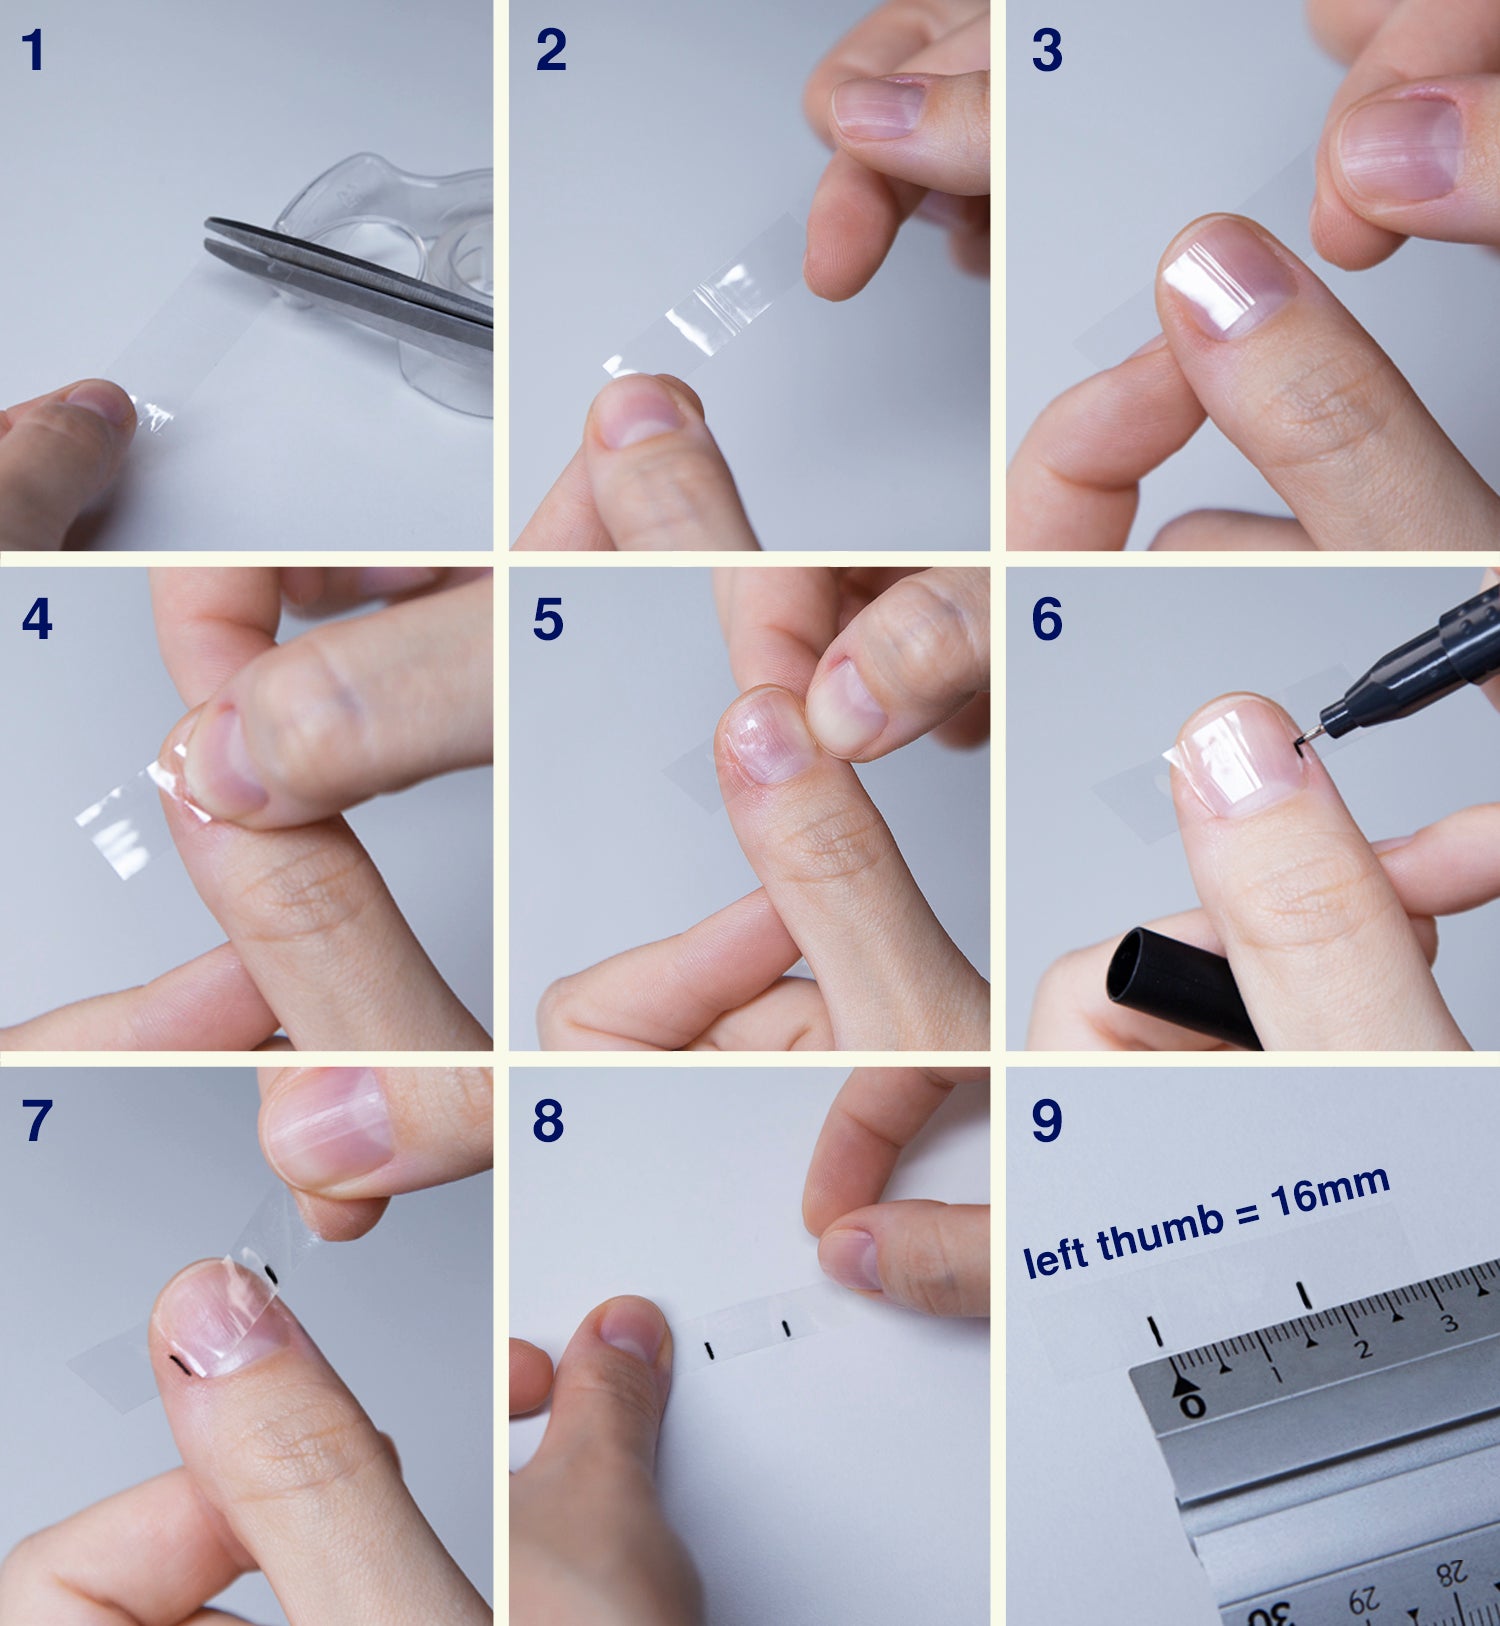
To ensure you get the most accurate sizing, please also measure your nail beds. Make sure you are doing these steps on your natural, bare nails.
- Place a strip of clear tape on top of each nail making sure it's covered side to side.
- Mark the beginning and end of the widest part of each nail bed, whether it's at the top, middle or bottom of your nail.
- Peel off the tape and place it on a flat surface. Using a ruler, measure in millimetres the distance between markings and write it down for each of your nails like in the example.
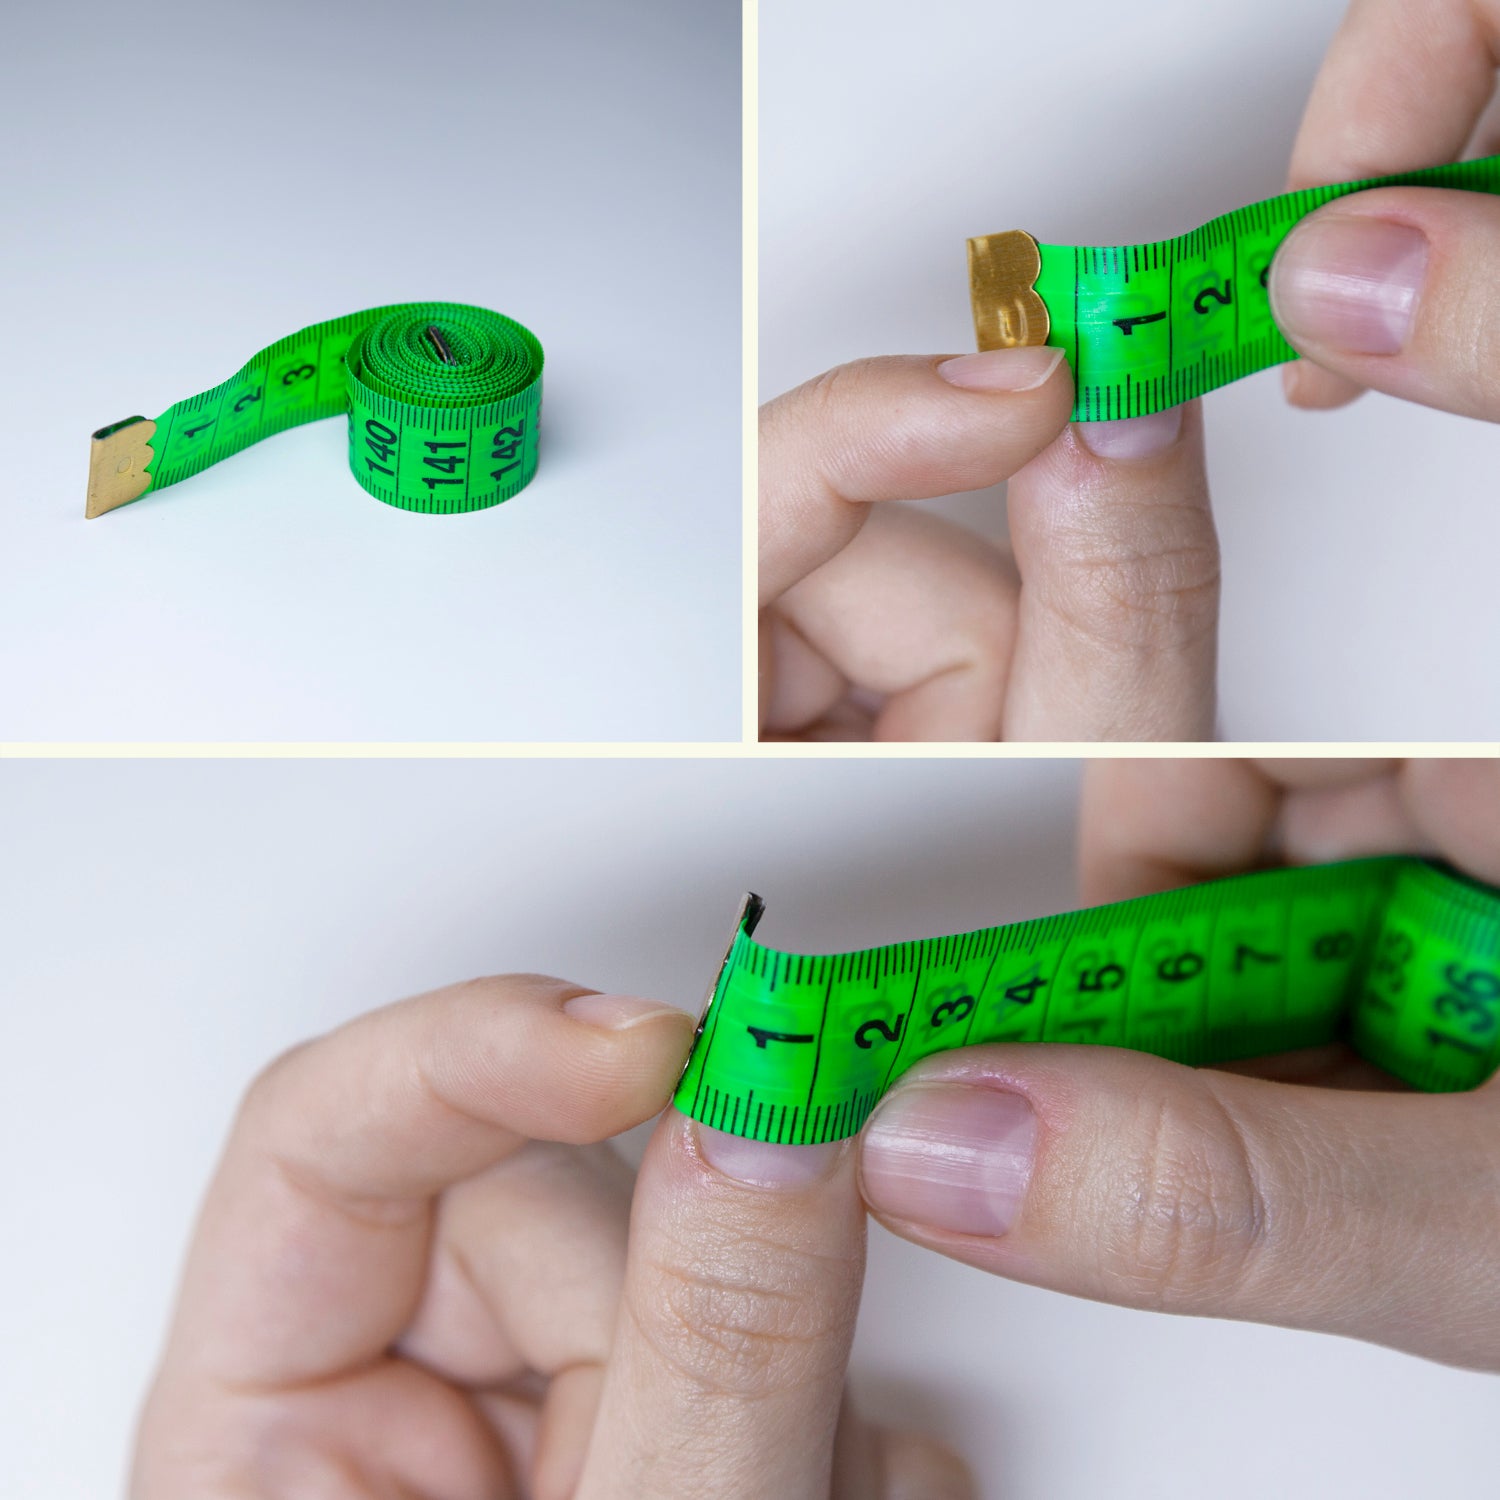
No clear tape? No problem!
If you do not have clear tape around, you can use a sewing measuring tape to size your nail beds as shown in this tutorial picture.
Measure at the widest part of your nail from one edge to the other.
